Thursday, November 13, 2014

A Monet Scarf Update


I've spoken about this scarf before in A Beautiful, Frustrating Scarf and guess what?... I still love the look of this scarf and I still can't find the right wrap for it.  But at least once a week I pull it out and wrap it in various ways in the hopes that this week I will happen upon the magic combination perfect for this wrap.  I really want the hints of pink to show since they help tie this scarf to the Monet paintings of Water Lilies that I associate the scarf with so I have to tie it just right to get them to show and that doesn't always work.  It's also a pretty darn huge scarf, 3X as wide as most of my Tichel scarves and if I just wrap it around my head once and tie it at the base of my neck, both tails still reach past my knees.  I'm considering cutting and hemming it into two smaller scarves but I haven't quite reached the point of no return yet.  So with all that in mind here are this weeks two best contenders for my Monet scarf wrap.


I'm using a royal blue scarf to try and make the monet scarf pop.  It's not terrible but the tails you see resting on my chest are also trailing almost to my knees and every attempt to put them up somehow makes the wrap too large and bulky.  Although I guess I could pretend I wanted it to look like I had a waterfall running off my shoulder.


I decided that this scarf might want to be a hijab since it was so huge and tried wrapping a couple of the "hijab" styles.  I tried the traditional up and over the head to full and tightly frame the face but you will not find that picture here because I looked like a drowning victim trying to get one last gasp of breath before sinking under the water of the pond.  Monet's Water Lilies and that particular style of hijab wrap are not compatable.  The wrap above, however, is probably the best one I've found with this scarf so far.  It's not in my normal style range but it's fun and does actually show the scarf off like I want.

Wednesday, November 12, 2014

Tuesday Tutorial - Killed by Canning


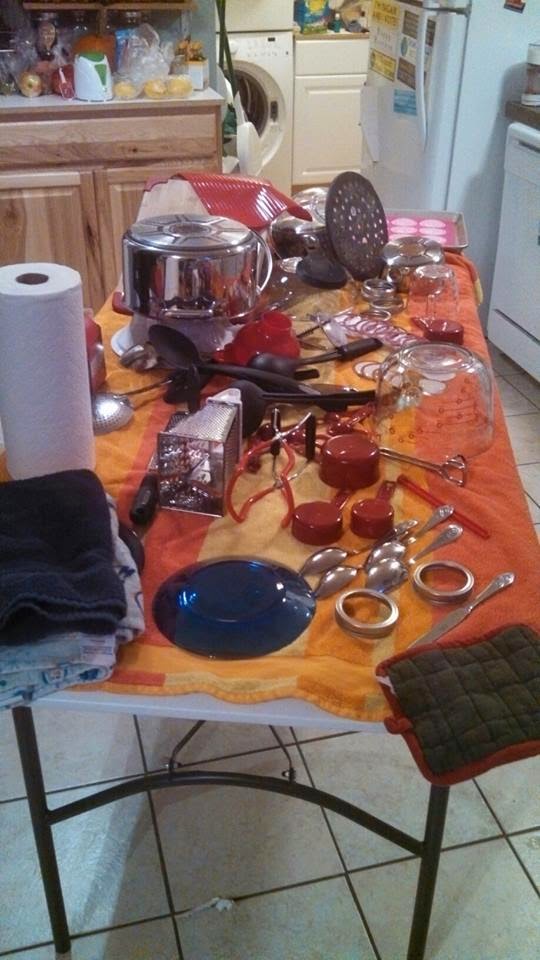
Today was the final day of my weekend long jam, jelly, spread and syrup canning spree.  Why was today the final day?  Because I ran out of jars and lids.  All told I put up 78 jars.  I know there are some experienced canners out there that will scoff at my 78 jars but for me it was a herculean effort especially since we have a toddler in the house so most of my canning projects couldn't start until after 8:30PM.  I made:

*blackberry/raspberry jam

*sugar free blackberry/raspberry jam (so I can share with my diabetic neighbor)

*Blue Sunshine Jam (a lemon/blueberry jam that I had to make because I accidentally thawed one of my bags of blueberries)

*apricot/blackberry spread (I can't wait to use this on some BBQ)

*Root Beer Syrup (it was supposed to be jelly but my Pectin was close to the use by date and didn't set but I'm actually pretty excited it came out as syrup because it is going to taste great on pancakes)

*Raspberry Chipolte Sauce (Honey's favorite). 

I'm hoping to get a tutorial up this week on how to change/convert your wide headbands if the elastic is too tight but it probably wont be up until Thursday at the earliest.

Sunday, November 9, 2014

Canning Zombie


And the jams go marching three by three. hurrah! hurrah!

I am too tired to type but I had to show someone my awesome little marching line of jam and my honey went to bed hours ago.  I made three different jams (well two were the same jam in sugar and no-sugar varieties) and tried out Pamona's Pectin for the first time (there is a definite learning curve but I'm getting better).  And tomorrow I get to do it all again....Oh Joy!   I'll try to do a better post tomorrow with links to recipes and stuff.  I have a dish-washing-minion, I mean helper-who-wants-to-learn-how-to-can tomorrow so things should go faster.

All washed and ready for tomorrow

P.S. I probably shouldn't post while sleep deprived....

Friday, November 7, 2014

Ahhh Small Towns ...

Pretty Pretty Purple Turban

I kinda wanted to write a rant about my "helpful" fellow shopper who followed me around the store today giving me the stink eye (I guess she was 'volunteer' store security making sure I wasn't casing the place) but Fuck It! I looked awesome and I've decided she was just jealous.

Thursday, November 6, 2014

Worst Scarf Tutorial Ever...Not Bad

So what do you do when you're cuddled at home with a cold?  Play around on the internet looking at covering blogs and tutorials...duh.  And what do you do when you find a tutorial titled "Worst Scarf Tutorial Ever"?  Try tying it of course!!!  And in the end the result wasn't bad at all.  It's kinda a cross between my ever favorite lazy turban and something a little more involved and tichel-y.  This is definitely getting added to my "lazy day wraps" repertoire.  With no further ado I present the results of the "Worst Scarf Tutorial Ever"....


I could have added a pin and made it look pretty fancy but turning around and selecting an appropriate pin seemed like too much work in my stuffy nose induced haze.  But if anyone else wants to watch the "Worst Scarf Tutorial Ever," here is it...


Wednesday, November 5, 2014

Tuesday Tutorial - Tichel Pin Display Frame


 Someday I hope to have an elaborate scarf storage area that meets all my needs in one handy place but until that magic day comes, I'm going to keep addressing my scarf and accessory storage needs one at a time as they become an issue.  For this tutorial, I've made a nice little cork backed tichel pin storage board.

You will need
 - an old picture frame (preferably a pretty one but if it's ugly you can always paint it)
 - some biggish pieces of scrap cardboard
 - a sheet of cork (I picked mine up as 12"X12" tiles in a 4 pack in the office supply section at Walmart)
 - Fabric (I used velvet because I had some left from the last project and it wont show the pin holes like some fabrics would)
 - Aleene's Original Tacky Glue (don't use Elmer's because it drys too hard for our purposes)


1 - Gather any old picture frames you have laying about.  (bonus points if you have picture frames with broken glass since we will be discarding the glass anyway)


 2 - Choose a picture frame that has tab closures holding the back in place like the picture frame on the right. (I preferred the picture frame on the left but since the picture slides into place rather than being held in by tabs it was not suitable for our purposes.  Learn from my mistake so you don't have to make a second trip to the Thrift Store)


3 - Disassemble your picture frame.  Discard the front glass or save it for use in another project.  There is usually something inside the picture frame that fits into the picture frame perfectly (sometimes it's a piece of cardboard, the back of the frame or the matting) that you will want to save.  Once you have determined which piece fits into the frame the best, that will become the template for your future cuts.


4 - Using your template (in my case the white mat seen above), cut a piece of the cork to the size of the frame and at least one sheet of cardboard.  Once these are cut, place them in the frame and make sure they fit snugly.  If they are loose, add an additional layer of cardboard.


5 - Because cork can be fragile and flimsy, you'll want to attach it to the sheet of cardboard with a thin layer of Aleene's Glue.  Use a sponge or your finger to "paint" the glue into a thin sheet rather than the thick cords laid down by the glue bottle.  Once you've glued the cork and cardboard together, weight them down with several heavy books and let them dry for 40 min to an hour.


6 - While you are waiting for the glue to dry on the cork, you can cut out your fabric.  Using your template from earlier, cut the fabric about 1 inch larger on all sides than the template.  Then trim the corners off like shown above.


7 - When the glue between the cork and cardboard is sufficiently dry, add another even thinner layer of Aleene's to the front of the cork paying special attention to the edges.  With your fabric "nice" side down on the table, carefully place your cork sheet glue side down onto the fabric.


8 - Use heavy books to weight and flatten your fabric/cord/cardboard sandwich while it is drying (30 min -1 hr)


9 - glue the edges of the cardboard backing and fold the edges of the fabric onto the glue 


10 - Carefully fit your fabric/cork/cardboard sandwich into the picture frame (be gentle because it should be a tight fit) and use the tabs to secure the frame closed.


11 - TADA!!!! Your Tichel Pin Display is done!!  Now all you have to do is hang it on your wall and start poking it with pins.


Monday, November 3, 2014

Topping my Grubby Clothes with a Crown


I hope I'm not the only one spending my work-around-the-house days in old yoga pants and an old T-shirt that may or may not have a couple holes in the bottom corner.  Most of the time when I'm spending a day working on laundry and clipping basil plants to make Pesto I just toss a plain turban or a wide headband over my head.  Occasionally, however, I get a little more creative and spend that extra minute on my wrap.  I'm still wearing yoga pants (or in this case yoga capris which might be even worse) and an old t-shirt but it doesn't matter because I am the Queen of all I survey (and I have the crown to prove it).